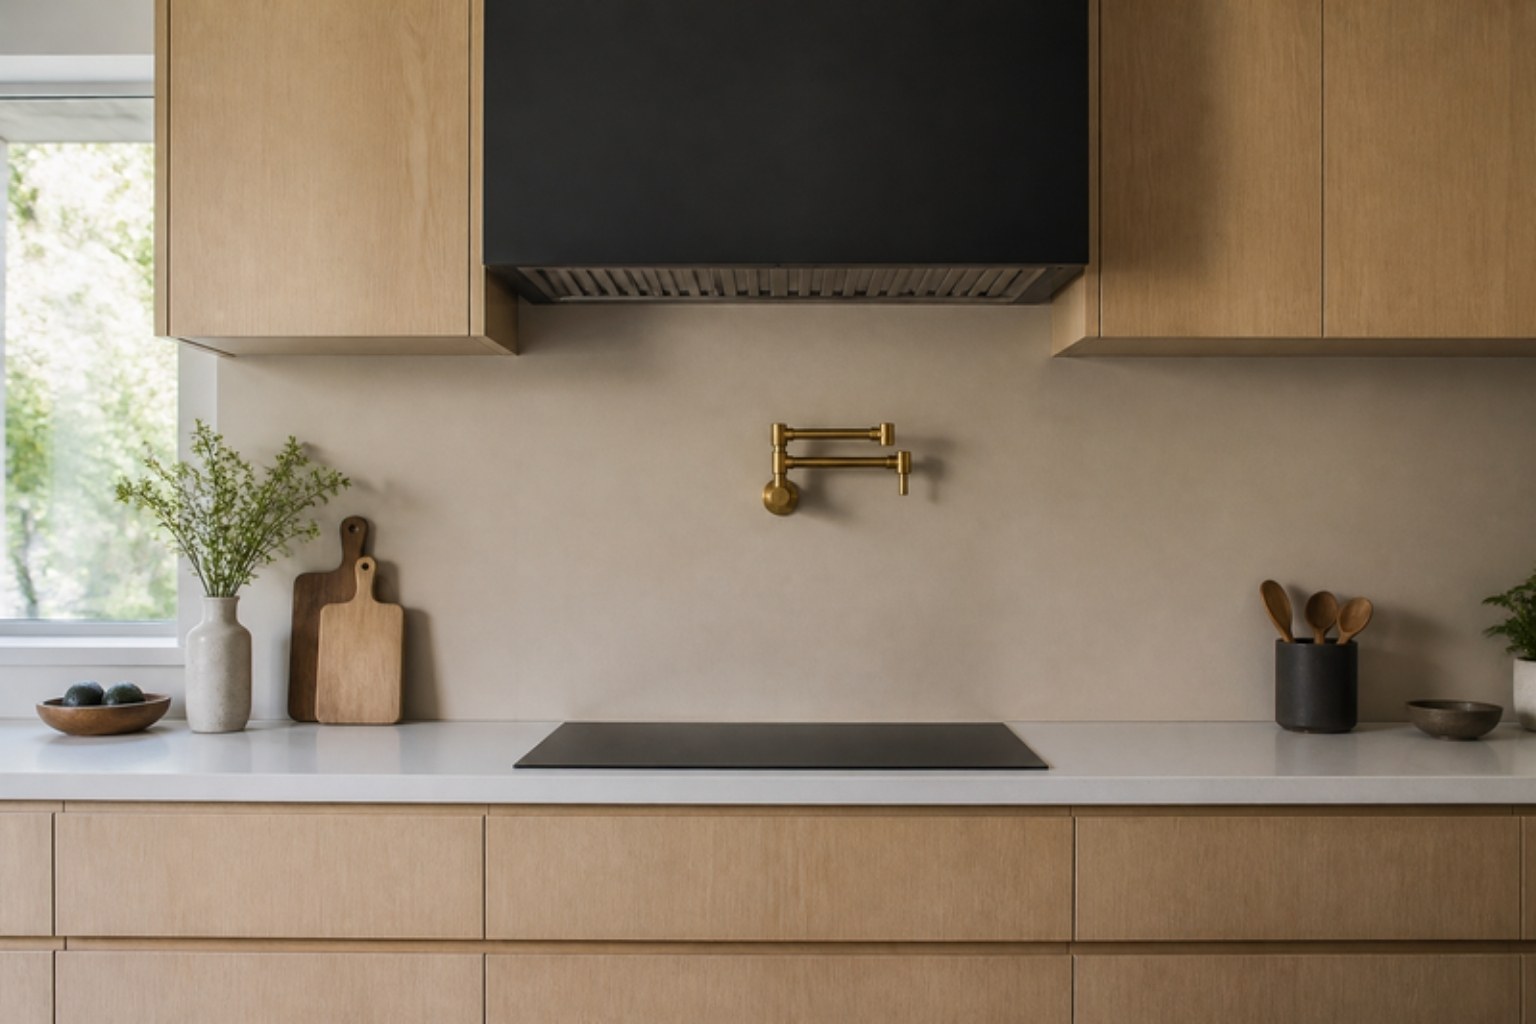
Walk into any Toronto kitchen showroom this year and the subway tile is gone. The 2026 backsplash trend lists agree on one thing: designers want fewer lines, fewer joints and more continuity. The backsplash is no longer a decorative strip between counter and cabinet — it is a wall, and it is being finished like one.
Microcement is how that gets built in the GTA. It is a 2–3 mm mineral skin troweled by hand directly over your existing tile or drywall, sealed so it wipes clean. Most homeowners are surprised to learn it goes over the old backsplash. No demolition, no new drywall, no week without a kitchen.
Why Grout-Free Kitchens Are Winning in the GTA
Grout is the weak point of every tile backsplash. Cooking oil, tomato sauce and steam get into the grout line first. After five years it is grey, and no amount of scrubbing brings it back. A microcement backsplash has no joints, so there is nothing to absorb and nothing to scrub out.
Continuity makes small kitchens look bigger. Toronto condo kitchens and older Etobicoke bungalows are tight. When the backsplash, the wall and the range hood niche read as one surface, the eye stops chopping the room into pieces. Run it in a tone that matches the counter and the whole run looks custom.
The colour is mineral, not printed. Warm sand, bone, mushroom and soft charcoal are the 2026 tones, and microcement does them with real depth. A tile glaze is the same flat colour every hour of the day. A troweled wall shifts under the pendant lights.
“I spent six years scrubbing grout behind the stove. The new wall took four days, no demolition, and I wipe it with a cloth. I wish we had done it before we moved in.”
— Artisan Coat client, Mississauga, 2026
Microcement Kitchen Backsplash Cost in Toronto (2026)
A backsplash is a small area, so the cost is driven by prep and minimums, not square footage alone. Interior microcement walls in the GTA run $15–$20 per square foot installed, and small kitchen scopes carry a project minimum for set-up, masking and sealer.
| Scope | Installed Cost (GTA, 2026) | Typical Timeline |
|---|---|---|
| Standard backsplash, 25–35 sq ft, over drywall | $1,200 – $2,200 | 2 – 3 days |
| Backsplash over existing tile (no tile-out) | $1,500 – $2,800 | 3 – 4 days |
| Full-height wall behind range, to ceiling | $2,400 – $4,200 | 3 – 5 days |
| Backsplash plus matching range hood surround | $3,200 – $5,600 | 4 – 6 days |
| Backsplash plus microcement countertops | $7,500 – $14,000 | 6 – 9 days |
For comparison: a mid-range tile backsplash in Toronto runs $1,500–$3,500 once you add tile-out, new drywall and a tiler’s labour, and designer slab backsplashes start near $4,000. Microcement lands in the same bracket without the demolition.
How a Microcement Backsplash Is Built
The finish coats are the visible part. The prep is what decides whether it lasts.
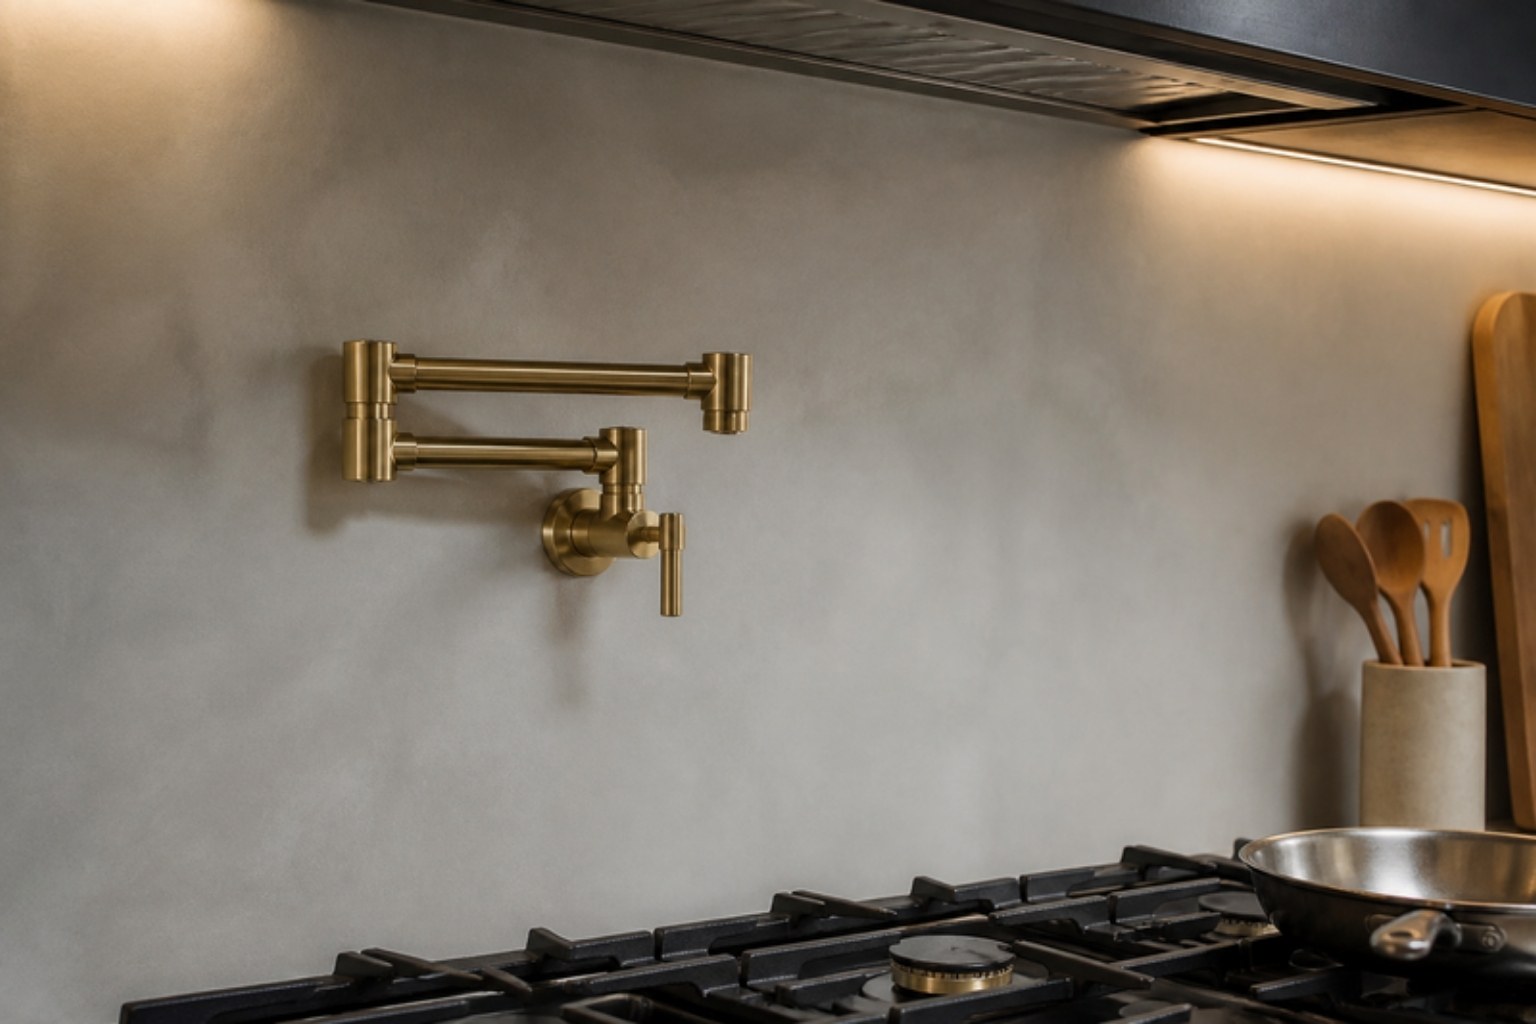
- Existing tile gets mechanically keyed, not just primed. Glazed tile will not bond to a mineral coat on its own. We abrade it, fill the grout lines flush with a bonding base and mesh the whole field so the old grid never telegraphs through.
- Outlets and switches are reset first. Boxes get extended to the new surface thickness so cover plates sit flush. Plates screwed on afterward are how you get a chipped edge at eye level.
- The counter junction is detailed, not caulked and forgotten. The joint between counter and backsplash is the one place water gets in. We use a flexible sealant line, tooled clean, that moves with the house through a Toronto winter.
- The sealer is chosen for a kitchen. A food-safe, oil-resistant two-coat sealer goes behind the stove and sink. A bedroom-grade matte sealer is not enough here, and we do not use one.
- Colour is sampled under your actual lights. Under-cabinet LEDs and a pendant at 2700K change a tone completely. We sample on the wall at midday and after dark.
Do not let anyone put microcement directly behind a gas range without a proper clearance plan. Normal cooking heat is fine; a pot boiling over or a flare-up is where cheap systems fail. We keep the manufacturer’s clearances, and if you want a feature directly behind a high-output range, we usually recommend a stainless or tempered glass panel at the burners and microcement everywhere else. It looks better and it is honest.
Heat, Splashes and Daily Life
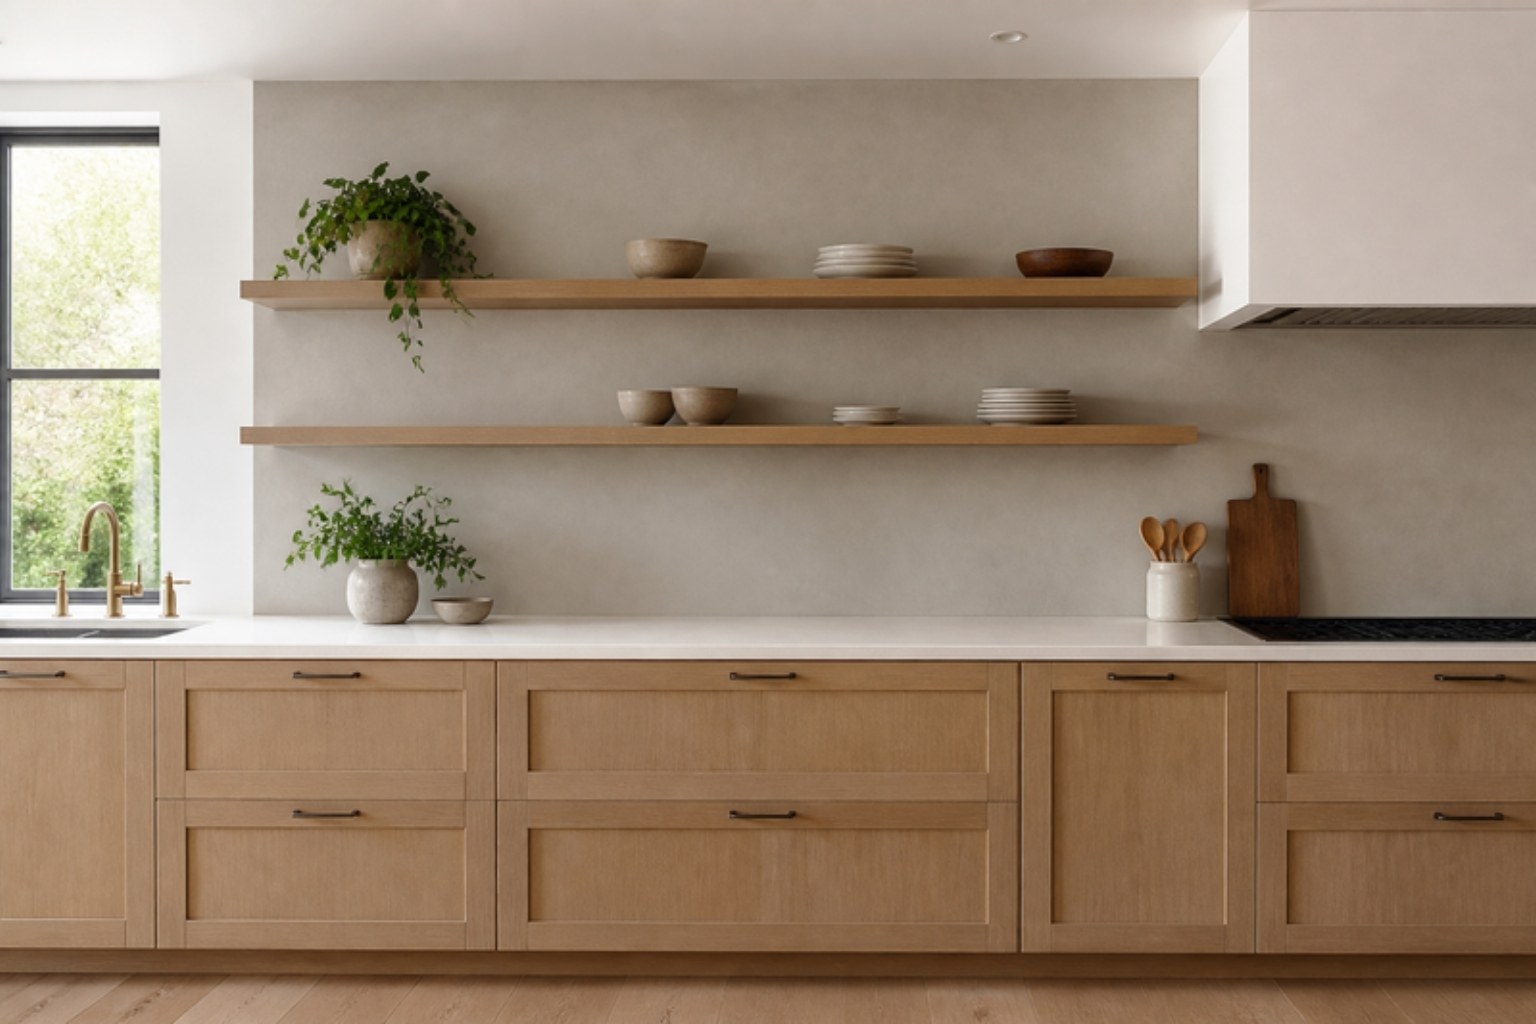
Heat: Sealed microcement handles everyday cooking comfortably. It is not a stovetop surface, and hot pans do not belong against it.
Splashes: Oil, wine and tomato sauce wipe off within the hour. Leave a lemon-juice splash overnight and it can etch the sealer, the same as it does on stone. Wipe, do not wait.
Cleaning: A damp cloth and pH-neutral cleaner. Skip abrasive powders, vinegar sprays and magic erasers — those dull the sealer. Plan a fresh sealer coat every three to five years, a one-afternoon job.
When We Tell You to Stay With Tile
- A commercial-grade range with open flame at high output. Tile or steel is the right call behind it.
- A wall with a live moisture or leak problem. Fix the plumbing first; microcement does not cure water behind a wall.
- A budget under about $1,200. Below that, the prep minimums do not make sense. A good tile job is the better buy.
- A zero-variation, perfectly uniform look. Microcement is hand-troweled and has movement. That is the point, but it is not for everyone.
Where We Work
Artisan Coat finishes microcement kitchen backsplashes, range walls, countertops and full kitchen wraps across Toronto, Mississauga, Brampton, Vaughan, Oakville, Etobicoke, North York, Scarborough, Richmond Hill, Markham, Burlington and the wider GTA. Prep, mesh, finish and sealer are one system handled by one crew, with a 3-year written warranty.
The Short Version
A microcement kitchen backsplash replaces grout, tile-out and demolition with one seamless, wipe-clean surface. In Toronto in 2026, a standard backsplash runs $1,200–$2,200, over existing tile $1,500–$2,800, and a full-height range wall $2,400–$4,200. Most jobs take two to five days.
Key the old tile properly, extend your electrical boxes, detail the counter joint, use a kitchen-rated sealer and sample the colour under your own lights. Get those right and the wall looks designed. Skip them and you get an expensive wall with a stained edge by spring.